
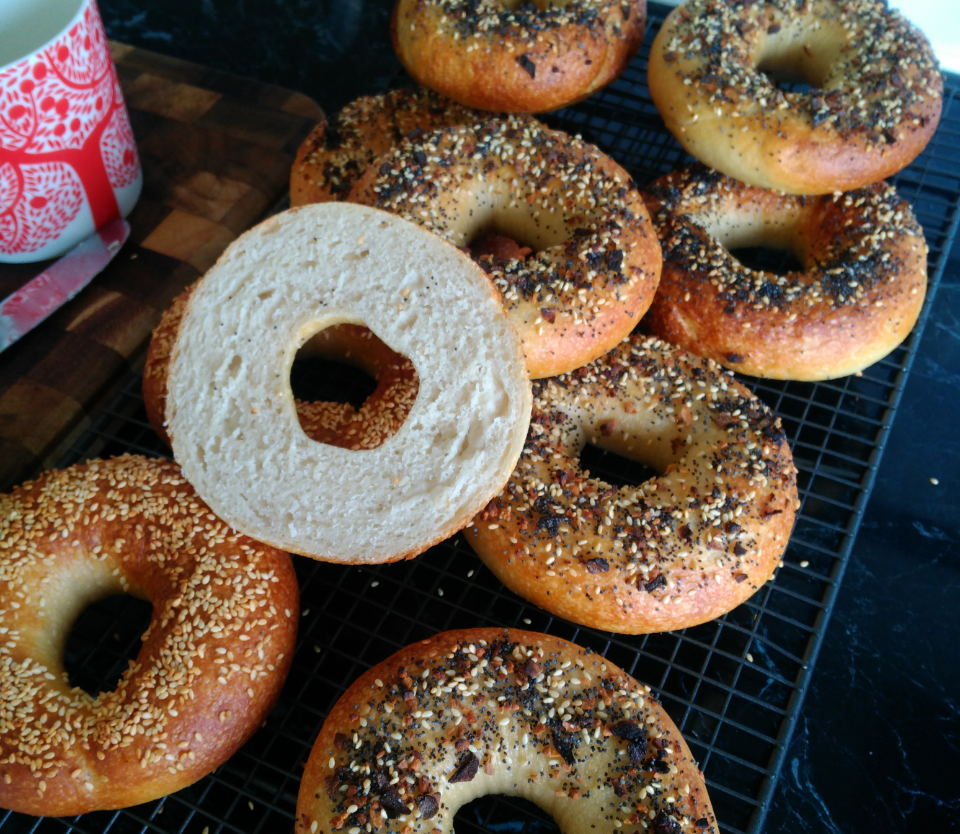
These bagels are made using a sourdough starter. They are full of flavour, with a soft centre and chewy crust.
It might seem quite time consuming, but the actual work time is not that great. It’s just all the resting times that make this recipe feel like it takes forever!
This is not my recipe, but I just wanted to share it with a few of my own tweaks and some helpful timings.
Suggested Timings:
Day 1 – Morning
Make the Sourdough Sponge – leave for 6-8 hours
Late Afternoon
Dough prep, dividing and shaping 30 minutes
Resting 20 minutes
Final shaping and rising 20 minutes
Ripening in fridge 12-24 hours (overnight)
Day 2
Boiling 15 minutes
Baking 25 minutes
Ingredients:
Sourdough Sponge
Your ripe sourdough starter (my starter is kept at 100% hydration – that means equal weights of water and flour at feeding – ie: 100g water and 100g flour)
500ml (500g) water
500g high protein flour (ie: bread flour)
For the Dough
1 kg of the sourdough sponge (above)
500g high protein flour
2 tsp barley malt powder
3 tsp salt (use a good quality salt, not table salt)
1 tsp dry yeast
1 tbsp Baking Soda for boiling
To make the sourdough sponge:
This sponge method is a great way to really refresh your starter and make a sponge for your bagels at the same time.
In a large mixing bowl, mix whatever quantity of sourdough starter you have with the water and whisk until foamy. Add the flour and mix thoroughly with a spoon until smooth.
Cover loosely with cling wrap and leave on the bench for at least 6-8 hours, or until very bubbly and stretchy.
To make the dough:
Weigh out 1 kg of the sourdough sponge in a large mixing bowl. The remaining sponge is now your newly refreshed starter.
Pour 3 cups of the flour over the surface of the sponge, then add the salt, malt and yeast in three different spots on top of the flour (you should never place salt and yeast on top of each other, you can kill the yeast), gently mix everything together until it forms a loose dough.
Dust the benchtop and gently tip the dough out. Add the remaining flour in small quantities, kneading the dough between each addition of flour making sure it is fully absorbed. Keep adding flour and kneading until the dough is tough and no longer sticky. It should be smooth and elastic. You may or may not need all of the flour, but add more if you need it. If the dough starts to tear or show signs of stretch marks, add a few drops of water and stop adding flour.
Continue kneading the dough by hook or by hand until it’s completely smooth and elastic. Kneading will take around 10 minutes using a hook or 15 minutes by hand.
Immediately weigh the dough then divide into 12 equal pieces.
Shape each portion of the dough into a ball and then roll into a long cigar shape (they should be long enough to wrap around an average sized palm end-to-end). Place on two large baking trays lined with baking paper.
Cover the trays with a damp tea towel and let them rest for 20 minutes.
Shaping the bagels:
Wrap each piece of dough around your fingers, finishing with the ends overlapping under the end of your index finger, then press the ends together with your thumb and index finger. You may need to use a drop of water to help fuse the ends together. You can also try placing your open palm (with the dough wrapped around your fingers) onto the work surface and roll back and forth a few times just on the join. You don’t need to hide the join – traditionally you will see the join in a bagel.
Place the bagels as you shape them onto the lined baking trays. Cover with plastic and let them rise for 20 minutes.
After 20 minutes, perform a float test. Fill a bowl with cold water and gently place one of the bagels in the bowl. If the bagel floats within a few seconds, it’s ready. If not, dry the bagel off with a towel and return it under the plastic for another 15-20 minutes. Repeat the test.
Place the trays, still covered with plastic, in the refrigerator and leave overnight or up to 24 hours. Do not skip the refrigeration step – it is necessary for flavour and texture development.
Boiling and baking:
Preheat the oven to 240°C (fan forced). Prepare a board or a tray lined with a clean and dry tea towel for wet bagels to rest on. Line up your bagel toppings (eg: sesame seeds, poppy seeds, garlic/onion granules, herbs, etc) at this time. Get a slotted spoon ready.
Place a wide pot filled with water on the stove and bring to the boil. Once the water is boiling rapidly, add 1 tbsp of baking soda to the pot. Leave the heat on high to ensure a rapid boil at all times.
Remove the bagels from the fridge and carefully lower them 2-3 at a time into the boiling pot. Boil for 1 minute on each side, turning them once with the slotted spoon.
Remove the bagels from the pot and line them up on the towel. Sprinkle the bagels with your favourite toppings as soon as they are removed from the pot, (they are at their stickiest at this point). Proceed with the remaining bagels, until all of them are boiled and sprinkled.
Transfer the bagels back onto the lined baking trays. Place in the oven and reduce the heat to 220°C. Bake for 10 minutes then quickly rotate the trays, then bake for a further 10-15 minutes (or until they are evenly browned on all sides).
Remove the bagels from the trays and cool on a cooling rack. They can be eaten hot or cold. Allow them to cool fully before storing in plastic.
Tip: the bagels can be frozen after their overnight ripening in the fridge, or after they are fully baked and cooled. If you are baking bagels after freezing them, thaw the raw dough for an hour prior to boiling them.